
Managing your TeamSnap ONE schedule on the web
Your team Schedule is the first thing you see when you open a team in your browser. It's where practices, games, and other events live, and where coaches and team staff build out a season, make changes, and let everyone know what moved.
Everything works the same way it does in the TeamSnap ONE app. You're just doing it from a bigger screen, which most coaches find faster for stretches of scheduling work.
What coaches and team staff can do on the web
- View the roster — players, contacts, and staff
- View the schedule, including past events
- Create, edit, copy, cancel, and delete events
- View availability status for an event
- RSVP on behalf of your players
- Email your team and staff
- Send and read chat messages
- Get a calendar subscription link
What contacts can do on the web
- View the roster — players, contacts, and staff
- View the schedule, including past events
- View availability status and RSVP for events
- Send and read chat messages
- View emails sent from staff members
- Get a calendar subscription link
Before you start: Log in at identity.teamsnap.com with the same email and password you use in the TeamSnap ONE app.
View your schedule
- Log in and click the team you want from your dashboard. You'll land on the Schedule automatically.
- Upcoming events appear in order. Each one shows:
- Event type (practice or game)
- Opponent, for games
- Date, start time, and duration
- Location
- Current availability status for your team
- Click Past to see events that have already happened.
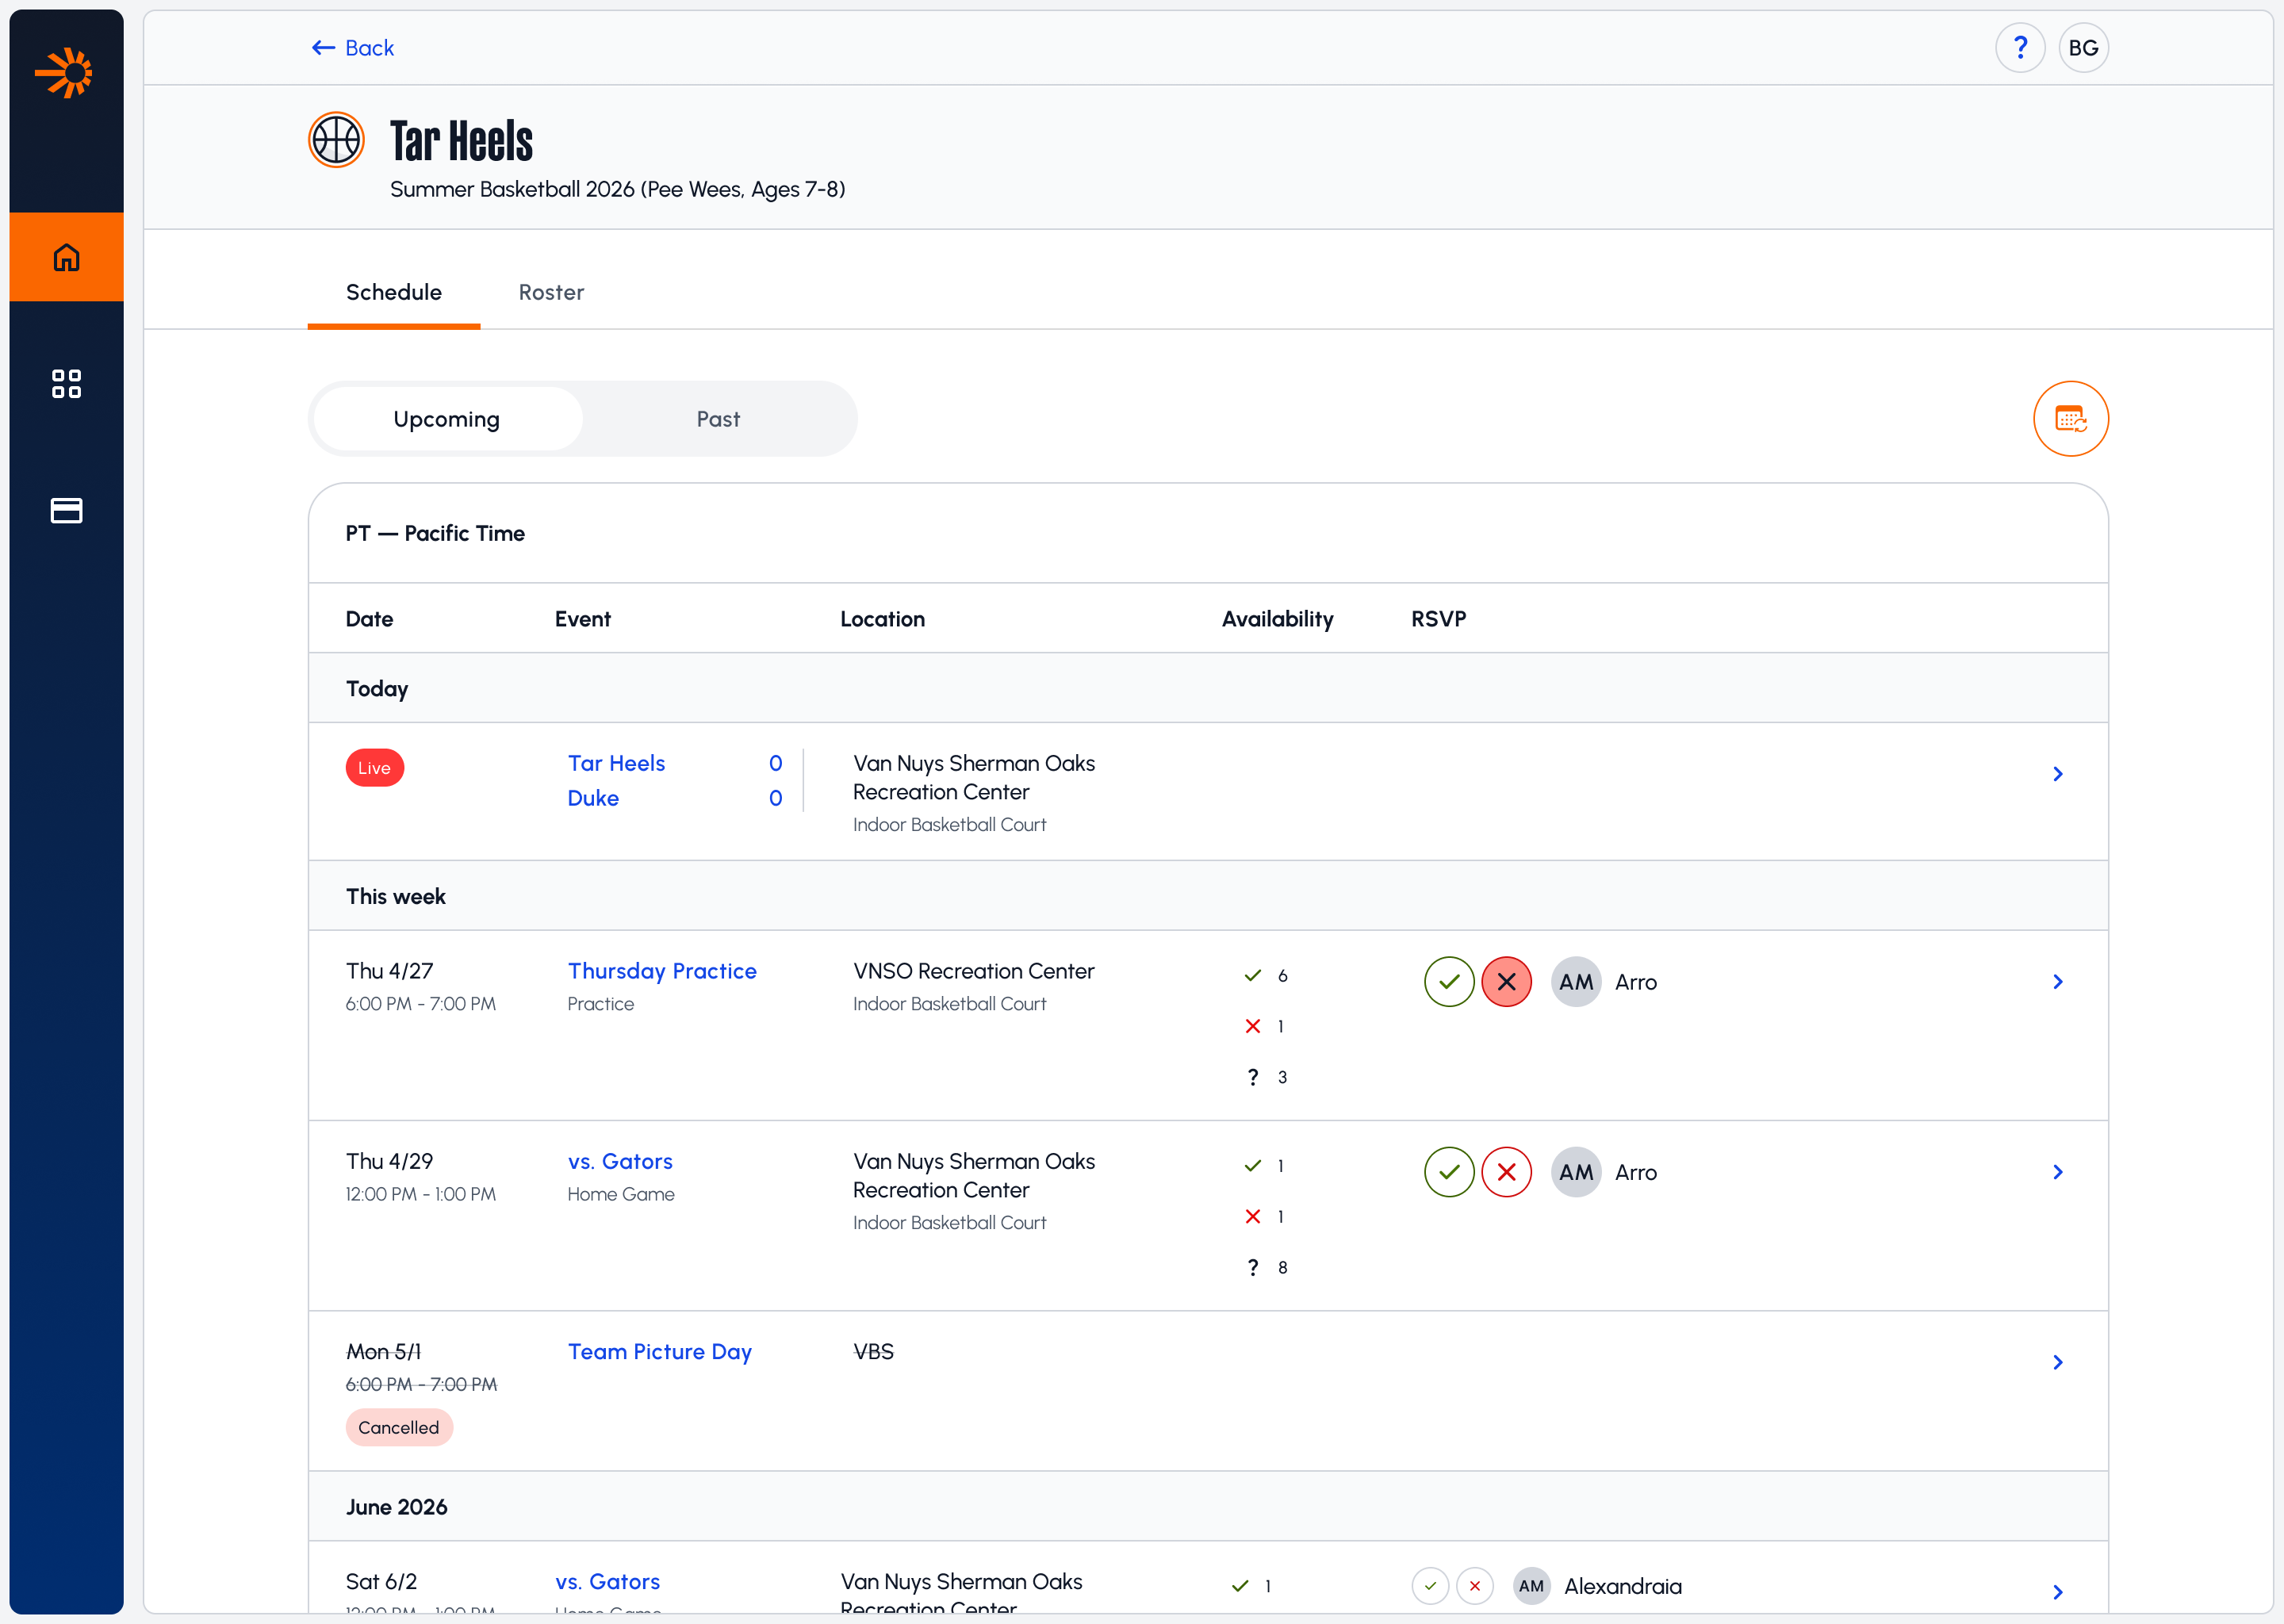
Tip: To pull your events into Google Calendar, Apple Calendar, or Outlook, click the Calendar Sync button in the top right.
Filling out availability
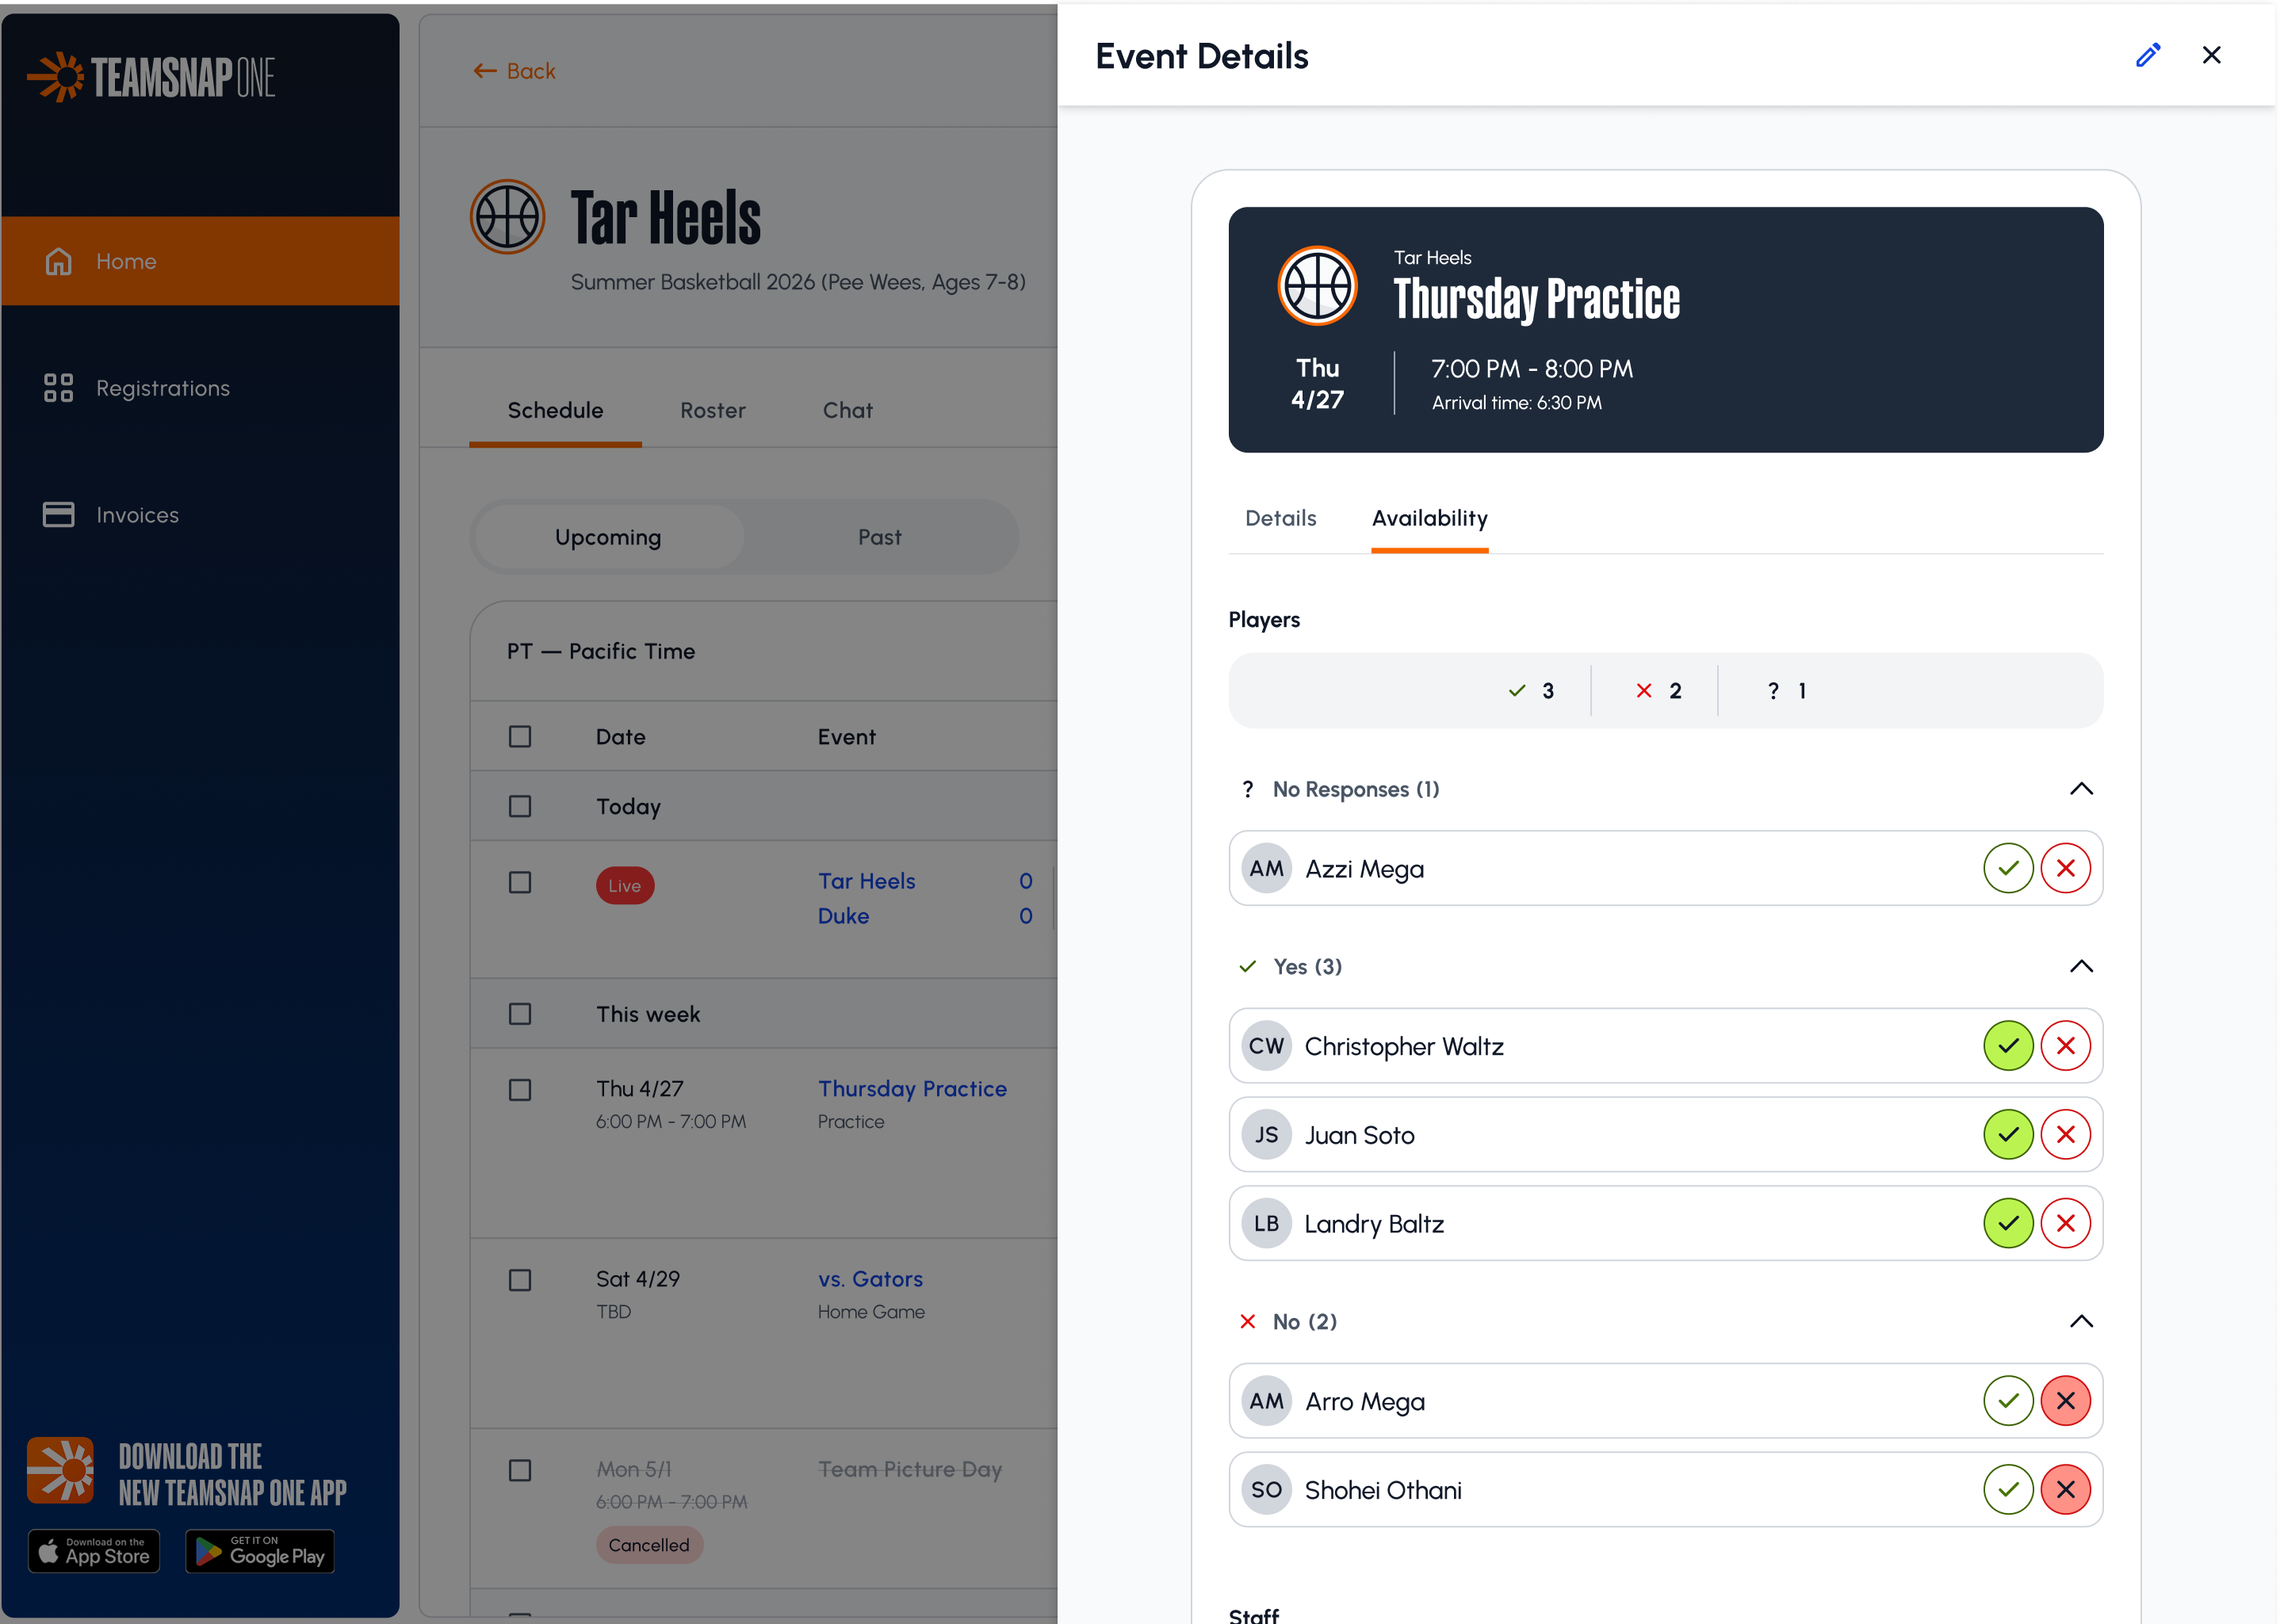
Availability is how your team knows who's coming. Every event has an Availability tab where contacts can respond for their players.
Coaches and team staff can respond for anyone on the roster.
To respond for your player
- Click the event on your schedule.
- You’ll see an event details modal that shows the location, event type, time, and coach’s notes
- Click the Availability tab on the modal.
- Find your player and select their response.
Note: If you have more than one player on the team, each is listed separately, so you can give a different response for each.
Create an event
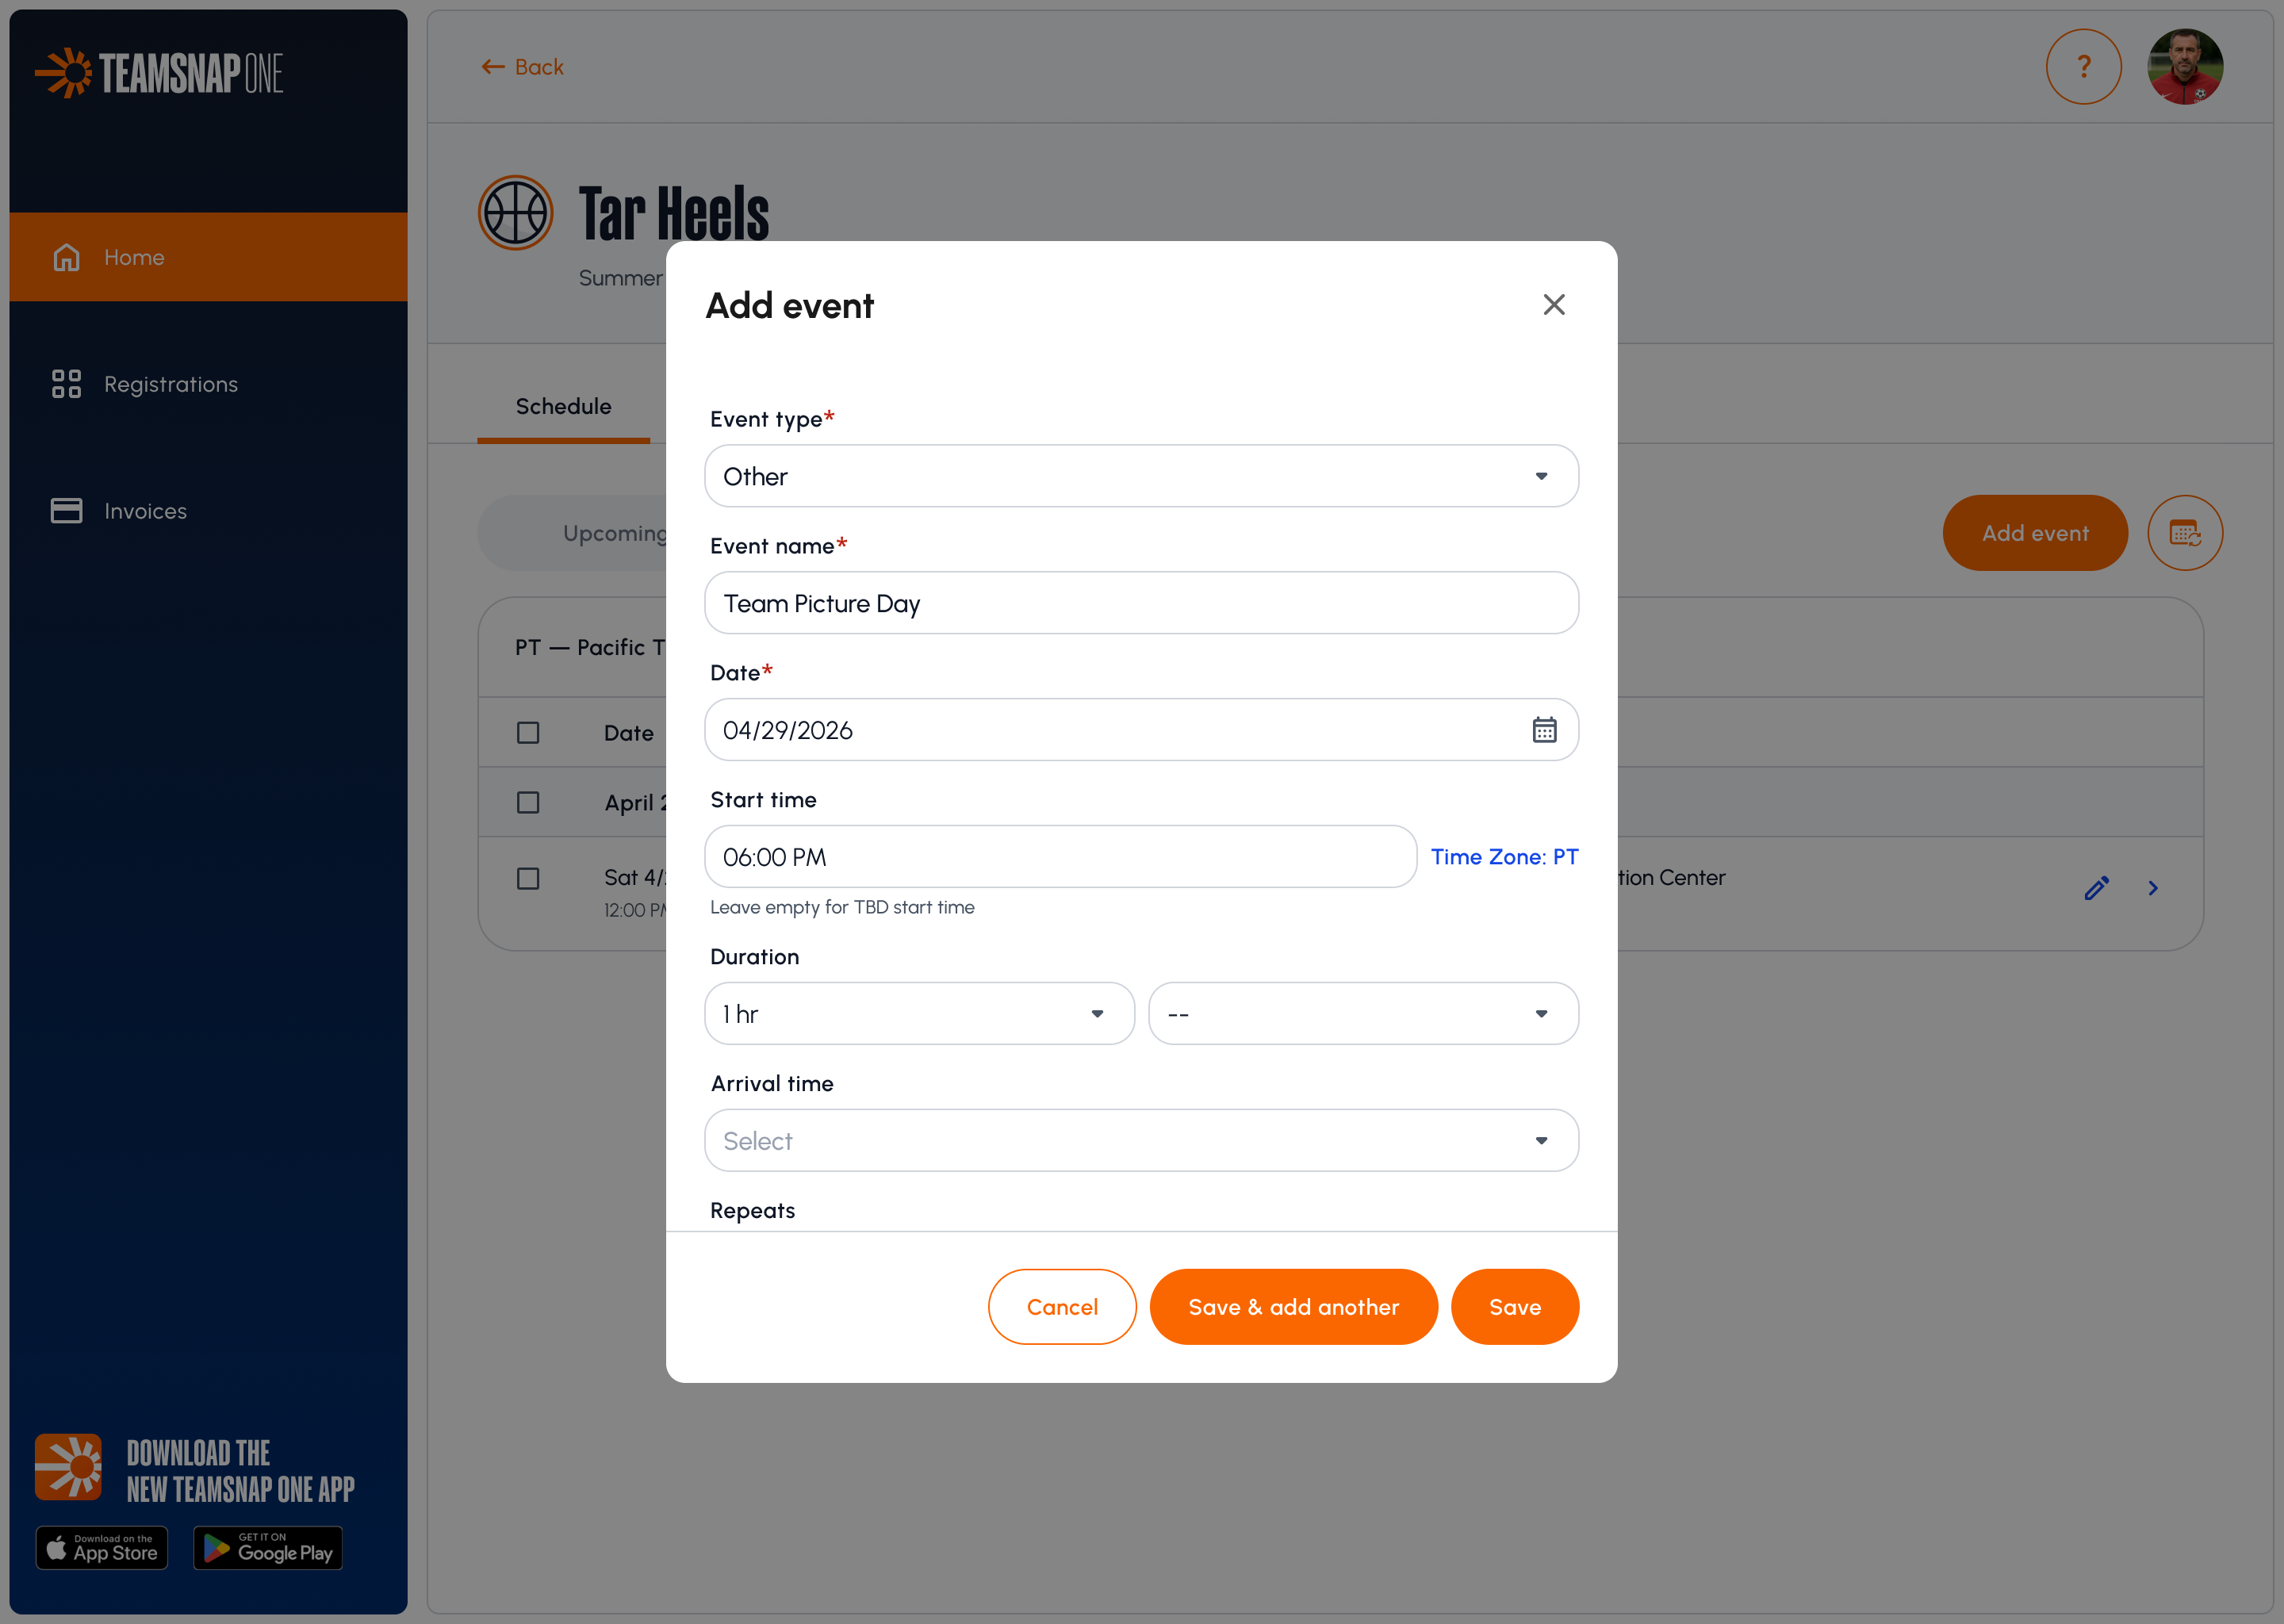
- Click Add Event in the top right.
- Choose the event type.
- Fill in the details: event type and date (required), opponent (for games), start time, duration, location, and notes.
- Choose whether to notify your team.
- Click Save.
Your new event appears on the schedule right away. If you chose to notify your team, TeamSnap sends the update to everyone on the roster.
Edit an event
If the details of an event have changed, you can edit it instead of creating a brand new event from scratch.
- Click the pencil to the right of the event to open the edit modal.
- In the edit modal, change any details you’d like to update
- Click Save. You'll be asked whether to notify your team.
Copy an event
This is the quickest way to add a recurring event. Duplicate the event, change the date, save, repeat.
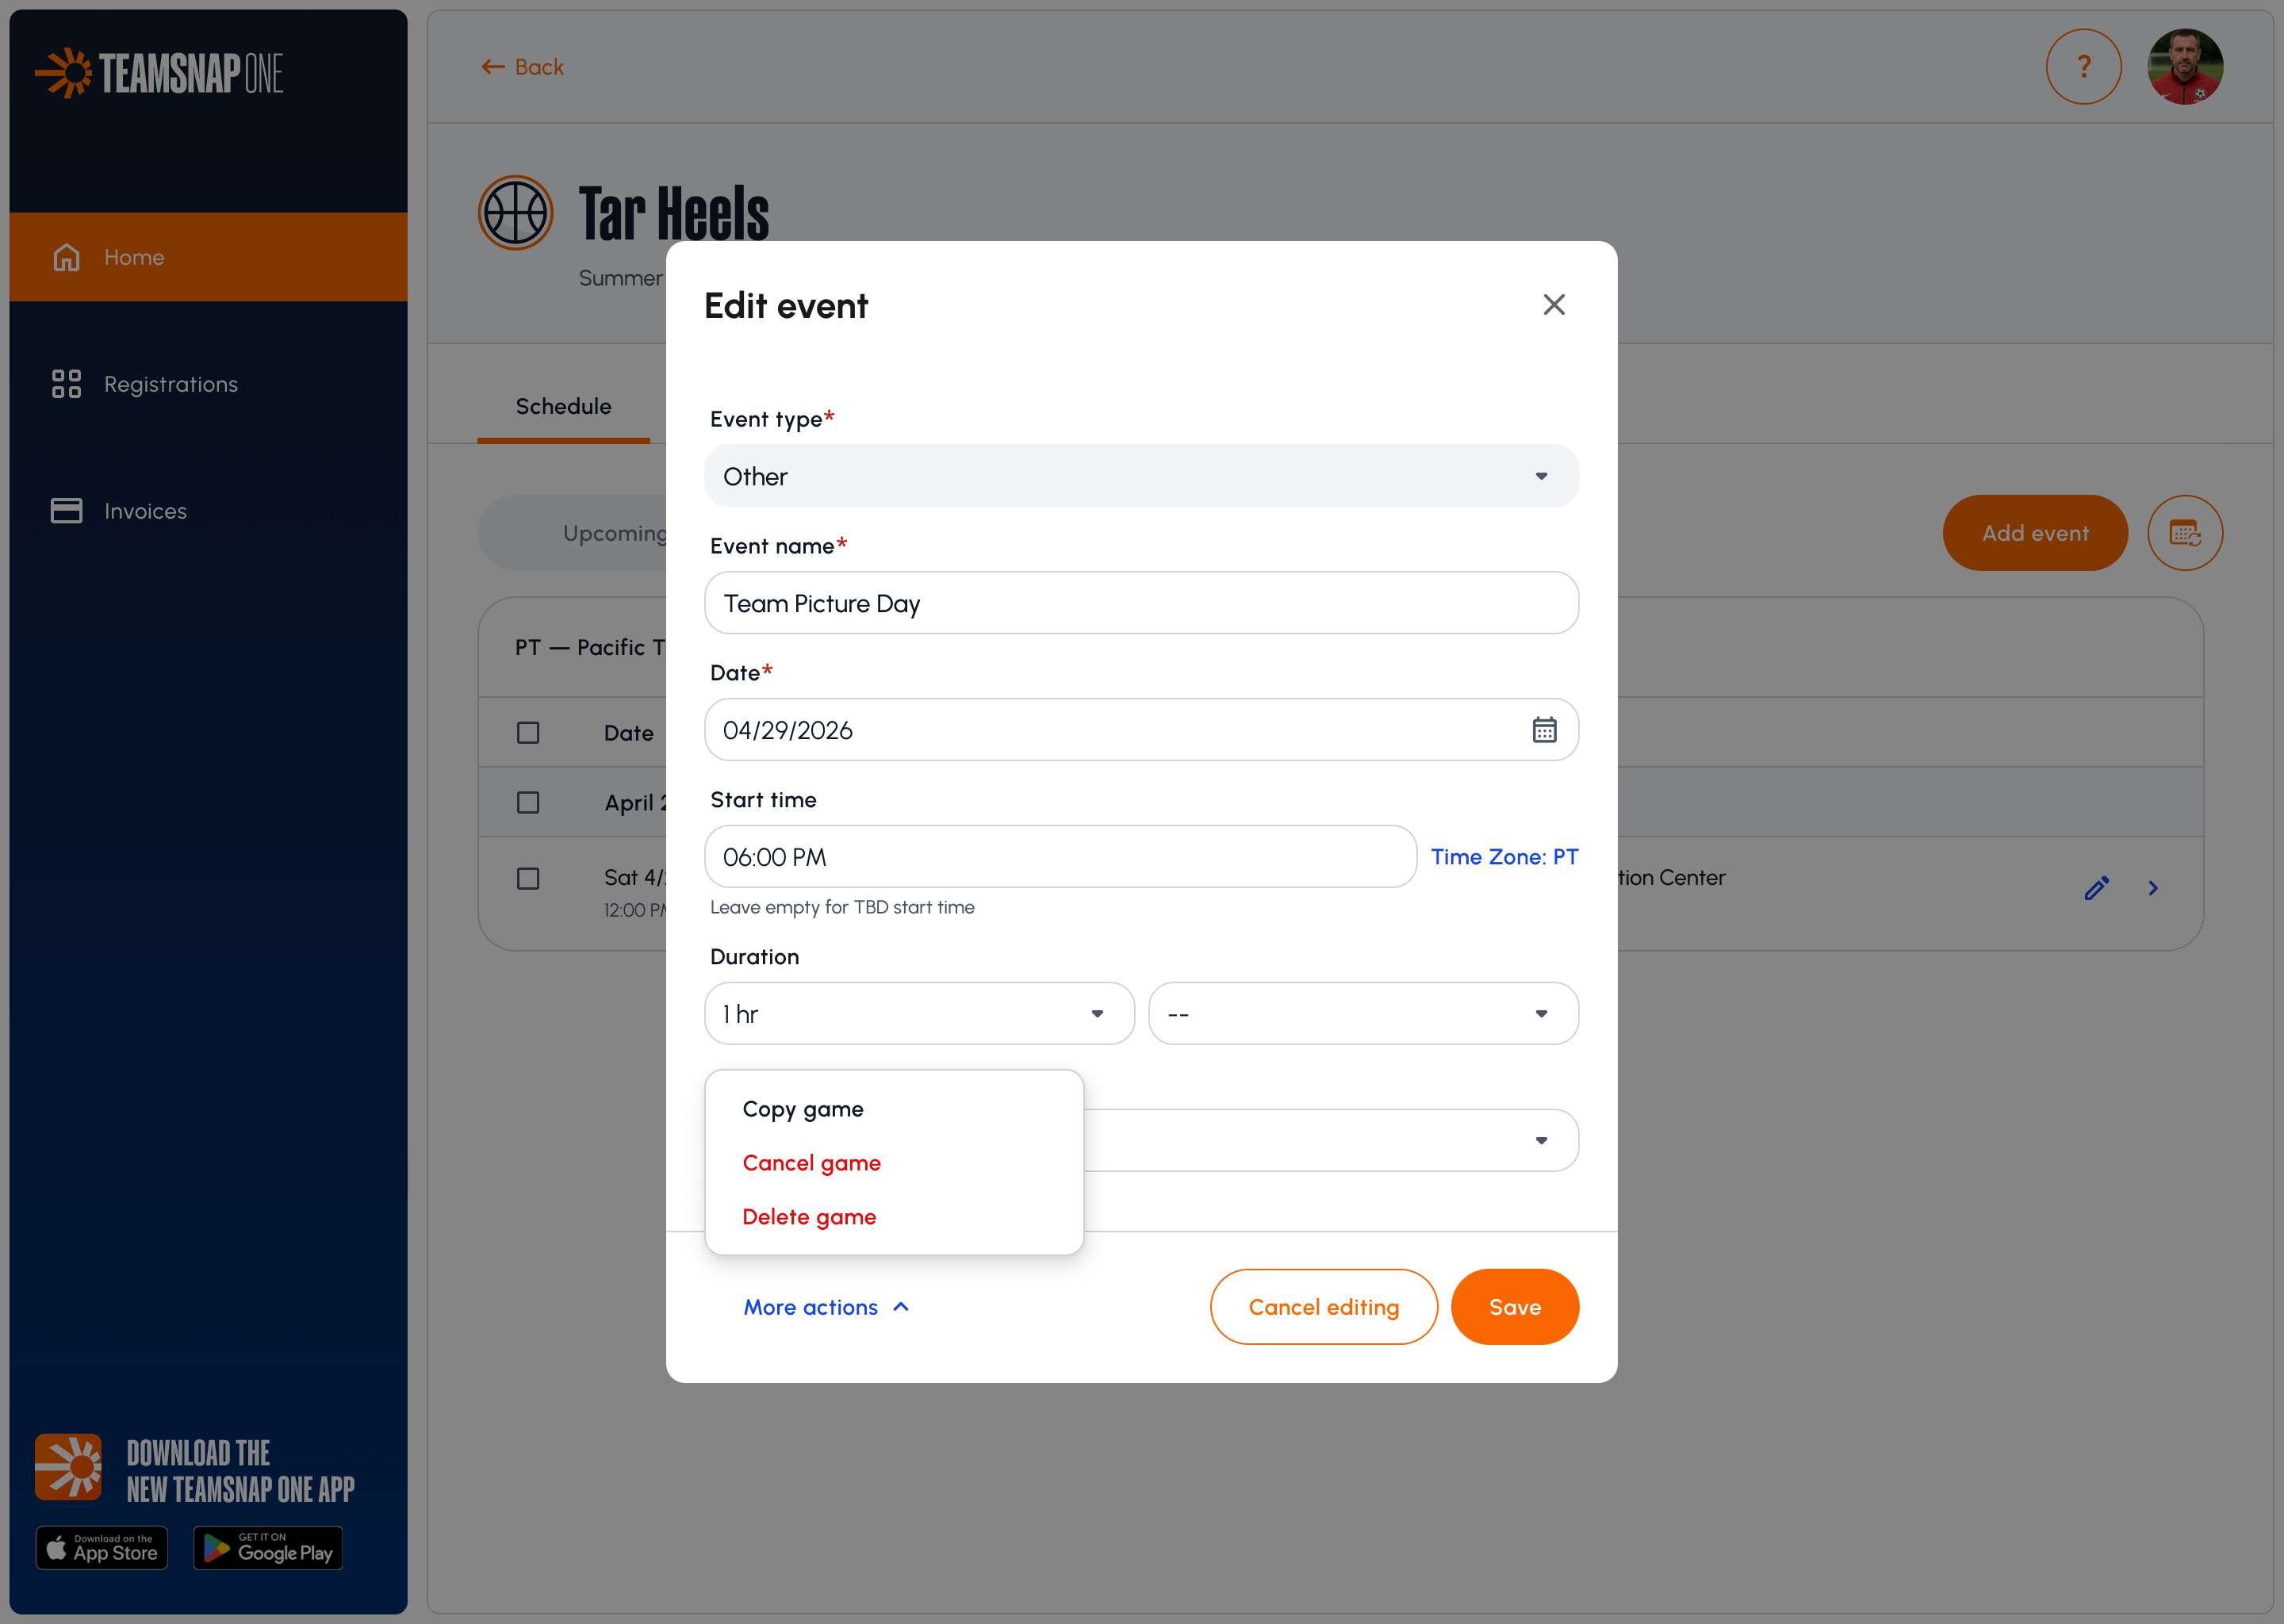
- Click the pencil to the right of the event to open the edit modal.
- Click More actions at the bottom, then Copy Event.
- Change the date and anything else you want to adjust.
- Click Save. You'll be asked whether to notify your team.
Important: Availability responses don't carry over when you copy an event. Your team will need to RSVP again for the new date, same as in the app.
Cancel or delete an event
Plans change sometimes and you may want to cancel an event or completely remove an event from your team's schedule.
- Click the event on your schedule.
- Click Cancel Event or Delete Event.
- Add a note if you want to explain what happened. This is optional, but it saves you a round of questions.
- Choose whether to notify your team.
What you can't do from the schedule
A few things still happen in the TeamSnap ONE app:
- Practice plans. If an event doesn't have a plan attached, you'll see a link pointing you to the practice plan library in the app. Building and browsing plans happens there.